photoshop黃色光點與矢量人物視覺表現(xiàn)
2022-12-25 18:02:41
來源/作者: /
己有:62人學習過
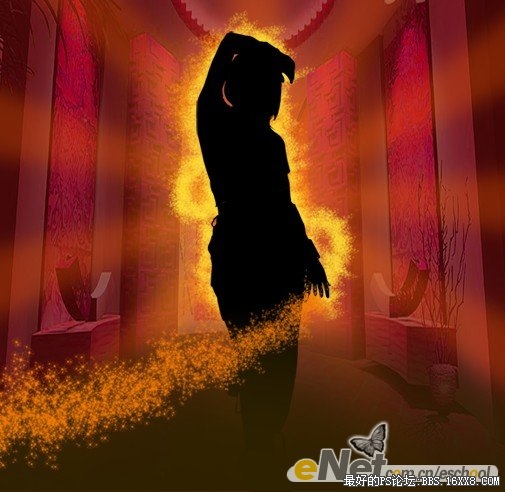
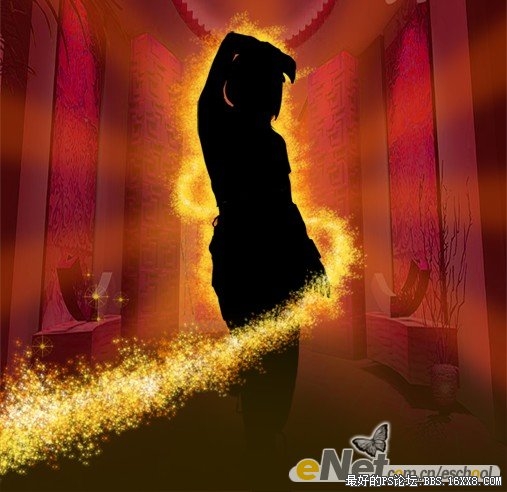
13.選擇“圖層5”,按照第12步的操作方法,添加畫筆“素材4”,繼續(xù)在人物下身制作環(huán)繞星光效果,得到如圖13.01~13.04所示效果,然后選中“圖層8”至“圖層11”所有圖層,將其組合成一個組,并修改名稱為“圍繞的星光”。


標簽(TAG) 元素效果 光效教程 學photoshop
相關推薦

ps cc制作放射光效教程

零基礎學photoshop,18節(jié)課從小白到

如何用PS把渾濁的風景照片調出通透清晰

PS商業(yè)修圖師對人物頭發(fā)進行精修教程

如何用PS打造出明亮而有神的眼睛效果

PS商業(yè)修圖給人像增強光影質感的方法介紹


